Running into the iPhone 14 locked to owner issue can be quite the curveball. Whether it was caused by a simple settings glitch or from buying that too-good-to-be-true second-hand device, you’re not the first (or last) to face it. This piece will explain the reasons behind this sticky lock situation for the iPhone 14 in all its versions: Plus, Pro, and Max. We’re diving deep, offering clear paths to resolution. By the end, you’ll be equipped to reclaim your digital sidekick. Ready to troubleshoot?
What Causes the iPhone 14 to Be Owner-Locked?
Navigating the world of tech can be a wild ride, especially when you’re hit with unexpected hiccups like the iPhone 14 Locked to Owner issue. Ever wondered what’s behind this roadblock? Well, multiple reasons can land you in this situation. From iCloud problems to forgotten passwords, or even that second-hand iPhone that came with some “extra baggage”, understanding the root of the problem is key. Let’s dive into these reasons and unwrap the mystery behind each locked door. Ready to break down some walls?
iCloud Issues
If you’ve encountered the locked to owner screen, one common culprit is the iCloud Activation Lock. This safety feature ensures that only the rightful owner can access and use the device, especially after a reset. It’s Apple’s way of giving an extra layer of security, but can sometimes be a headache if not properly managed.
iPhone Reset without Signing Out
One of the common reasons why an iPhone could face the locked to owner issue is when you factory reset your iPhone but the previous owner failed to sign out of their iCloud before handing it over. Always double-check with sellers to ensure they’ve completely logged out to avoid this snag.
Forgotten iCloud Password
It happens to the best of us: forgetting passwords. However, when you forget the iCloud password and reset the device, it can trigger the iPhone 14 Locked to Owner alert. A reset without proper credentials can inadvertently act as a security tripwire.
Unknowingly Purchased Stolen Device
This issue might also be a result if you’ve unknowingly bought a stolen device. The market’s filled with shady deals, and this locking mechanism serves as a deterrent against theft. Always ensure you’re purchasing from reputable sources.
Ways to Fix an iPhone 14 Locked to Owner Message
It’s a bummer to see the locked to owner message on your screen, right? But don’t fret! We’re here to help you figure it all out. In this guide, we’ll break down the reasons behind that annoying lock and show you how to get things back on track. From iCloud mix-ups to old owner hitches, we’re diving into all the fixes. Ready to get your iPhone 14 back in action? Let’s dive in!
Method 1. Ask Seller for Assistance
We’ve all been there – bought something second-hand and then found a hiccup. If your iPhone 14 is throwing that locked to owner alert, reaching out to the seller can be a good starting point.
Step 1: Gather Essential Info
Before you dive in, get your ducks in a row. Jot down details like the device’s serial number, IMEI, and keep any receipts handy.
Step 2: Get in Touch with the Seller
Lost the seller’s digits? Time to play detective. Go through your purchase history or backtrack to the platform you got the phone from. They might just be a call or message away.
Step 3: Break It Down for Them
Once you’ve got them on the line, keep things simple and straight. Let them know about the iPhone 14 locked to owner issue and how they might be the missing puzzle piece.
Step 4: Cleaning Up the Digital Footprints
To fully set your iPhone 14 free, you’d want it off the seller’s account. You can walk them through these steps:
- They can hop onto iCloud.com and select “Find iPhone”.
- Pick the locked device, hit “Erase”.
- Finally, choose “Remove from Account”.
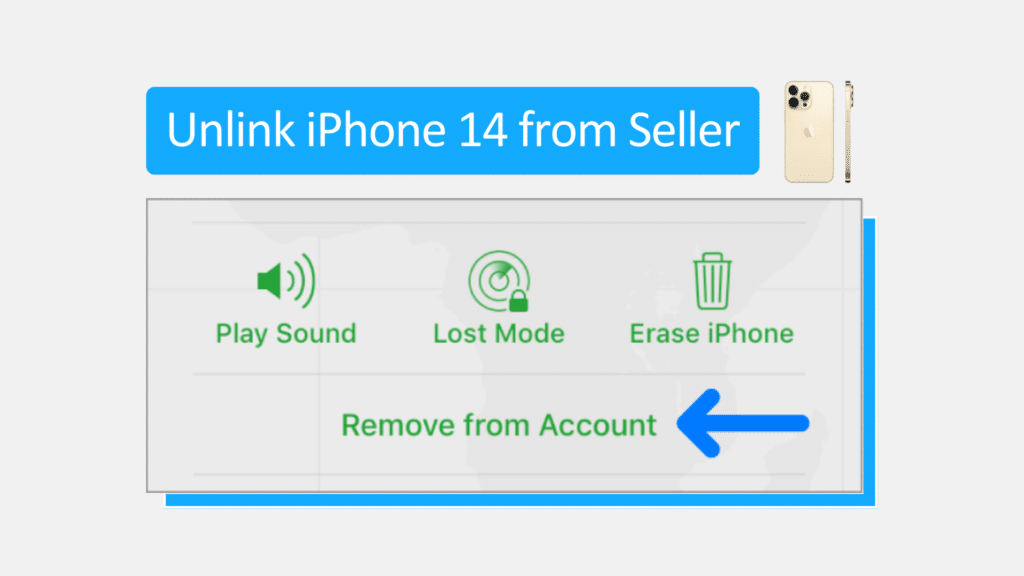
Doing these will give your iPhone 14 / Plus / Pro / Max a fresh start.
Method 2. Using Unlock Maker for Quicker Solution
Stuck with that iPhone 14 locked to owner notification and need a quick escape route? Enter Unlock Maker – a hassle-free tool that might just be your tech lifesaver. It’s not only super speedy but also doesn’t pinch your pocket. This method cuts through the complication, aiming to get your iPhone 14 (Plus, Pro, Max, and all) back in the game. Curious about how this magic tool works? Let’s dive into the steps and set your phone free!
Step 1: Starting the Unlock Journey
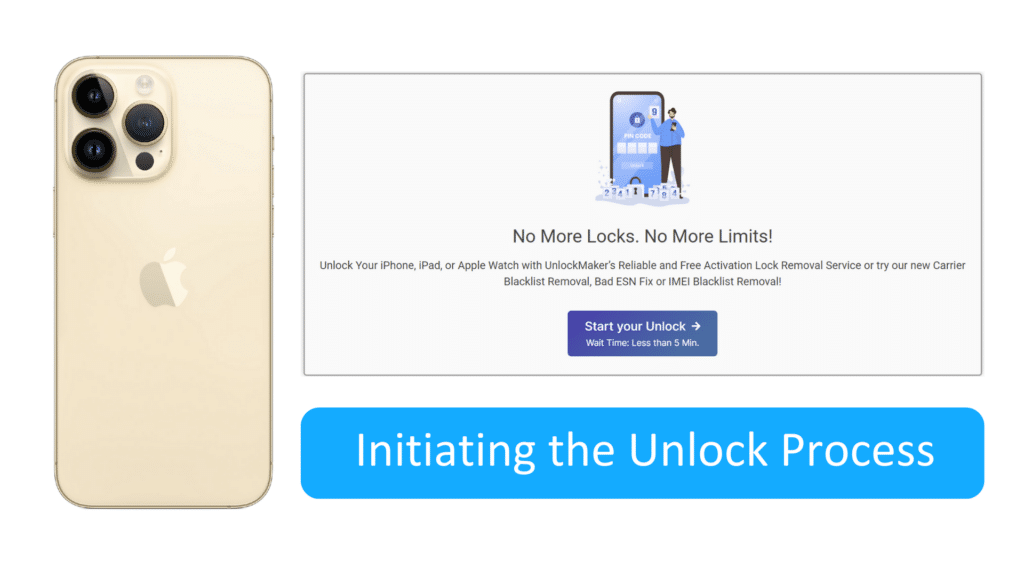
So you’ve got an iPhone 14 locked to owner and are itching to set it free? Cool beans! Hit that button below to launch the unlocking adventure.
Disclaimer: We do not condone using this app to remove the iCloud activation lock feature on stolen property. If you believe there’s something sketchy with an iPhone you recently bought, make sure to act accordingly and contact the authorities.
Step 2: Filling Out the Basics
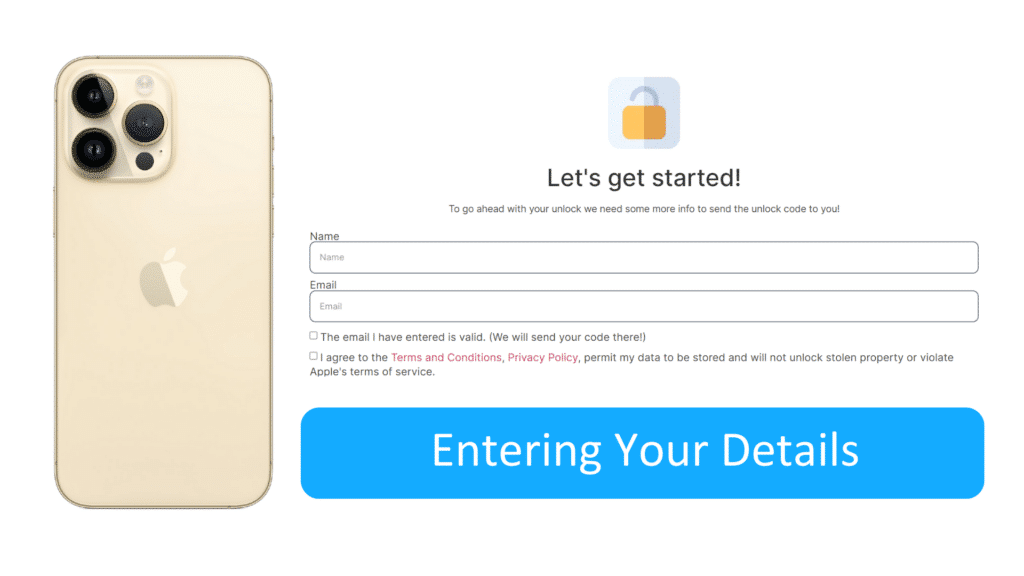
Throw in your name and email here. Make sure it’s all accurate so you can catch every update or extra step. And hey, don’t forget to tick off the boxes below to ensure that you’ve read our terms and conditions and privacy policy.
Step 3: Selecting Your Apple Device
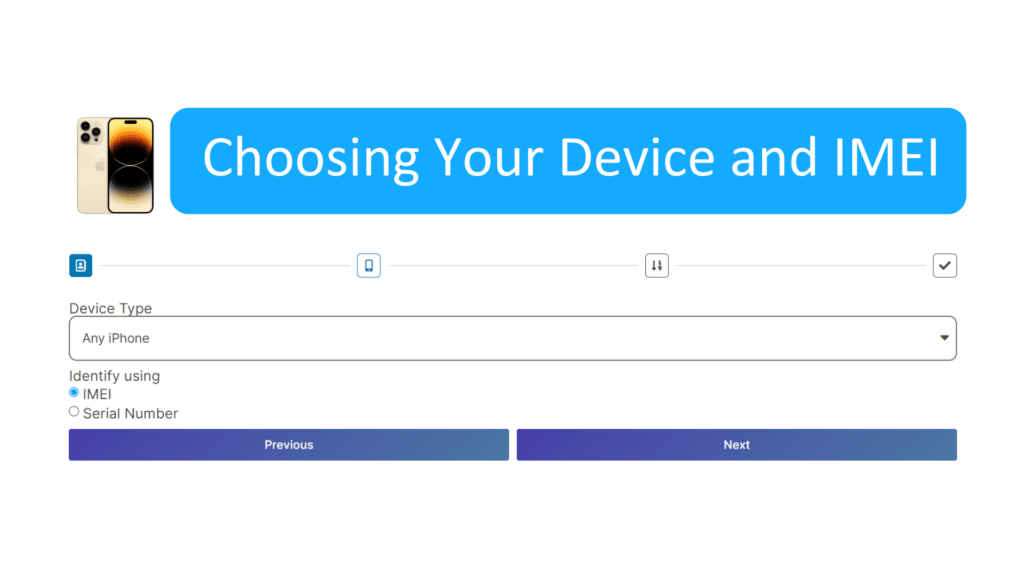
Next up, you’ll see a trio of options:
- Any iPhone
- Any iPad
- Any Apple Watch
For our iPhone 14 locked to owner saga, pick “Any iPhone”. Now, here’s where you decide between IMEI and Serial Number. Since all iPhones are rocking an IMEI, go with that. Hit “Next”.
Remember: All iPhones possess an IMEI, whereas only cellular-equipped iPads and Apple Watches do. Meanwhile, iPads and Apple Watches that aren’t cellular-equipped only have serial numbers. Use IMEI in this step. However, if IMEI is unavailable, opt to Serial Number.
Step 4: Entering IMEI or SN
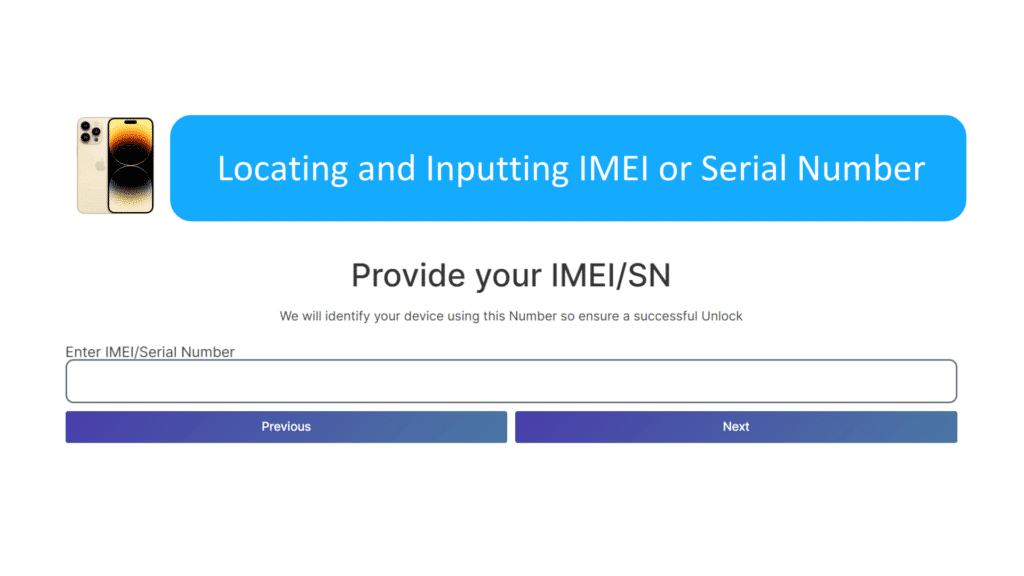
After finding your IMEI or SN, enter it on the text field.
Lost in the IMEI and Serial Number sauce? No stress. Here’s a quick way to grab those digits:
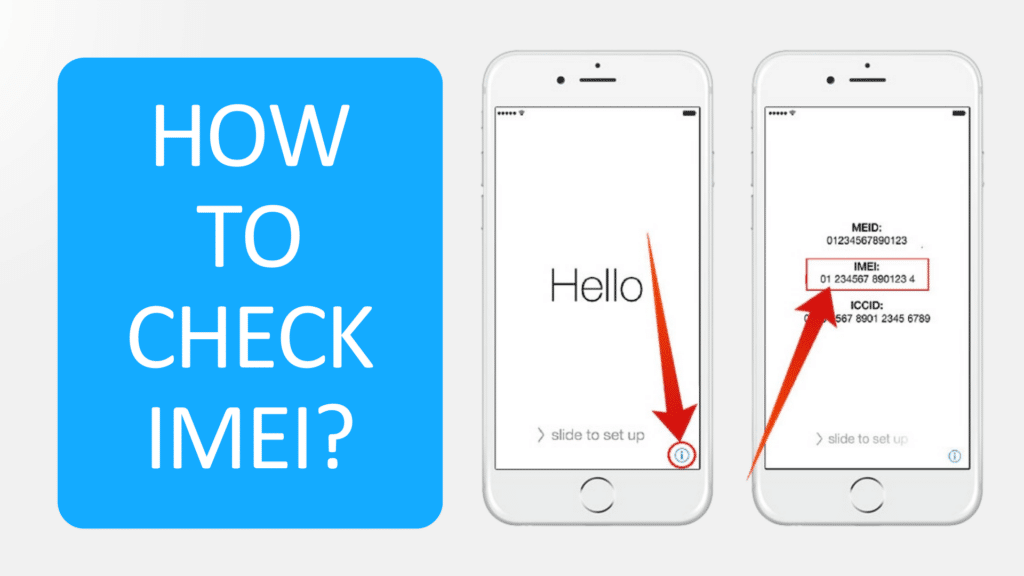
- Head to the iPhone’s activation lock screen and give the sleep button on the side a nudge.
- Hit that same button again and spot the little (i) at the bottom right.
- Give it a tap, and bam – you’ve got the iPhone’s IMEI and SN.
- Jot down that IMEI, pop it into UnlockMaker, and keep the ball rolling.
Step 5: Creating Your Access ID
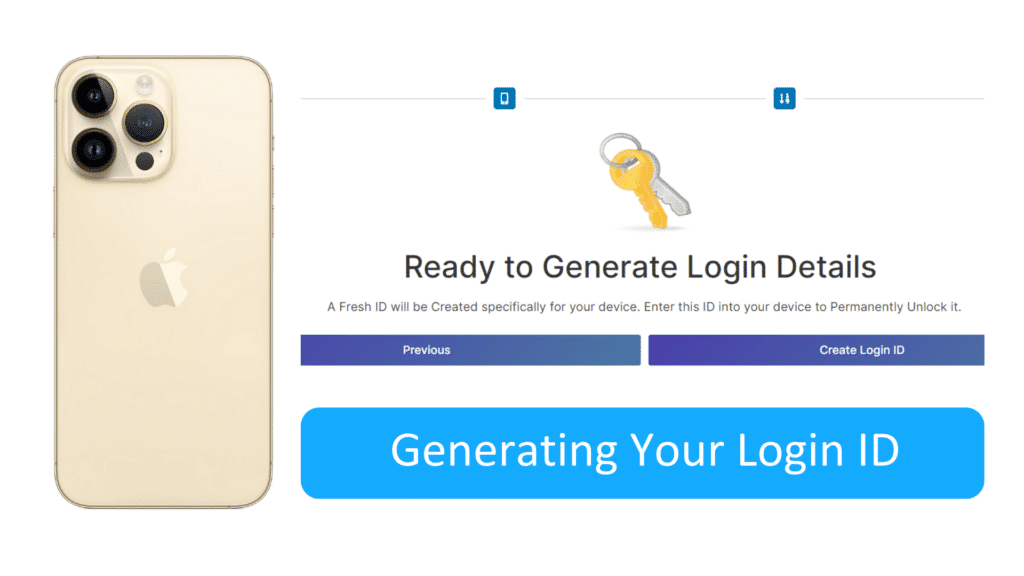
Almost there! Your Login ID’s prepped and waiting. Just hit “Create Login ID” and you’re golden.
Step 6: Double-Checking the Email
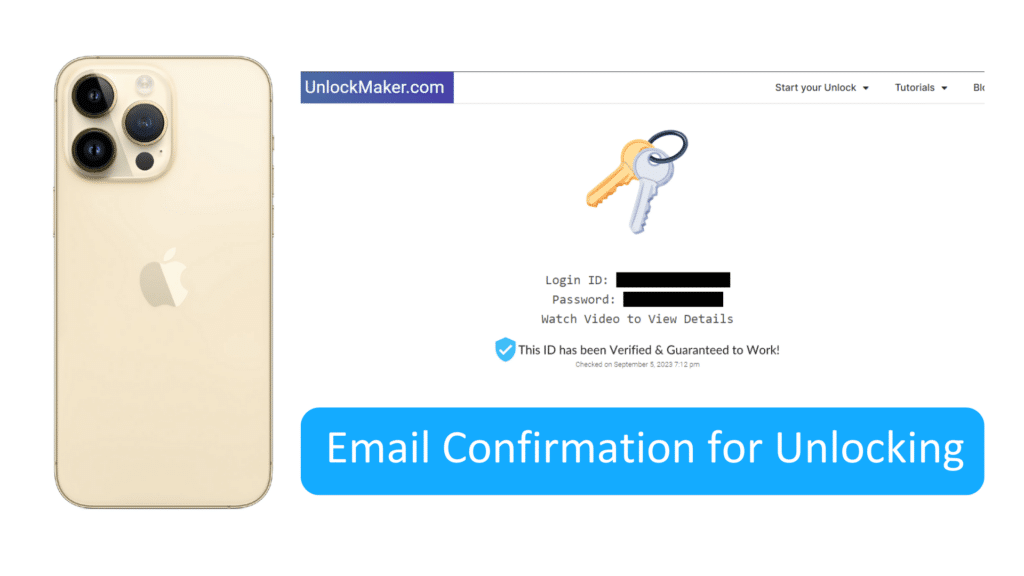
Your email’s your lifeline here, so make sure it’s legit. It’s where any extra instructions will drop, so keep those eyes peeled.
Step 7: Dive into the Video Guide
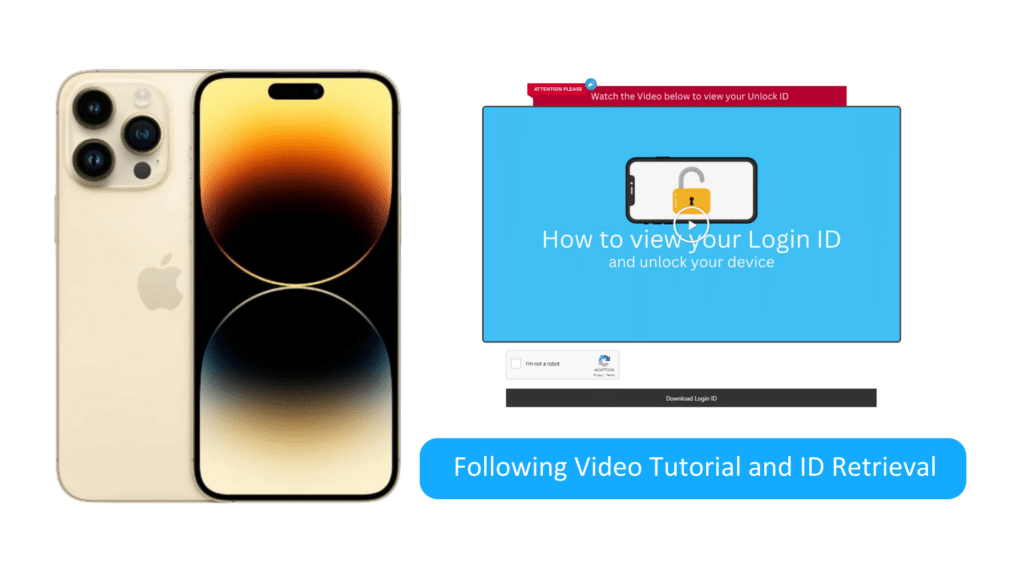
Hold onto your hats, folks, it’s video time! This little clip’s got all the details on how to use your new ID. After nailing the CAPTCHA, click “Download LogIn ID” and grab that PDF. Inside the PDF is your shiny new log-in details. Punch those into your phone and you’re rolling. Once you’re through, that iPhone 14’s all yours – updates, apps, calls, the whole functionalities. It’s like unboxing a brand new iPhone without a single string attached!
Precautions and Tips

While iPhone tech has done wonders for user security, it can be a double-edged sword. For the moments when you’re on the wrong side of that sword, it’s best to be armed with a little know-how. So, let’s roll up our sleeves and dive into some top tips and tricks to keep you and your iPhone 14 on the same team.
Know Your Apple ID and Password
First things first: always have your Apple ID and password at the ready. These are your keys to the iPhone kingdom. Without them, you might find yourself in the chilly world outside your iPhone’s gates. Regularly updating and remembering these credentials is a surefire way to keep your iPhone 14 from turning on you.
Be Careful with Second-Hand Purchases
Ah, the lure of a good deal. But, when it comes to second-hand iPhones, proceed with caution. Always double-check that the previous owner has logged out of their iCloud before sealing the deal. Trust us, you don’t want to end up with an iPhone 14 locked to owner issue, wondering why you went for that too good to be true bargain.
Update Software Regularly
It might sound basic, but keeping your software up to date can be a game-changer. Regular updates often come with bug fixes that can prevent unexpected hiccups like the iPhone 14 getting all locked up. Plus, it ensures you’re running the latest and greatest, which is always a good feeling.
Use Two-Factor Authentication
Boost your iPhone’s security game with two-factor authentication. It adds an extra layer of protection, ensuring that even if someone has your password, they’ll need another form of verification to access your account. Think of it as a VIP pass to your iPhone 14 – no more unwanted lockouts!